


Christmas Quilted Ornament Instructions


These handmade Christmas ornaments will look beautiful on your tree.
I just love how the layered fabric looks like a quilt. If you’re searching for a fun project this holiday season, try my tutorial below.
These ornaments are customizable with a big space in the center for whatever you’d like to showcase. Some ideas might be stamping a family member’s name, stamping the year, embroidering a picture or word, or even printing out a picture on fabric.
How to Make a Christmas Quilted Ball Ornament
Materials Needed
- Fabric:
- Main outside color: 1/4 yard (Cuts that you’ll make: One 2.5 inch strip cut on the fold, enough to make sixteen 2.5 inch squares, AND one long strip measuring 13 inches x 2 inches)
- Contrast color number one: 1/8 yard (You’ll need one 2.5 inch strip cut on the fold, enough to make sixteen 2.5 inch squares.)
- Contrast color number two: 1/8 yard (You’ll need one 2.5 inch strip cut on the fold, enough to make sixteen 2.5 inch squares.)
- Center color: 1/8 yard (You’ll only need two 2.5 inch squares, but you may want to cut more squares to test your stamp.)
- 3 inch Styrofoam ball
- 1/2 inch Sequin pins (350)
- Glue gun and glue sticks
- Stamps (One for each side)
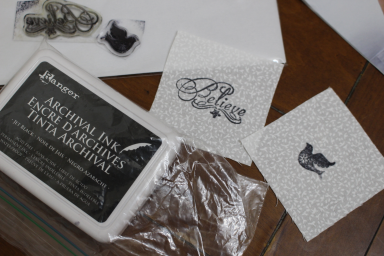
- Archival stamp ink pad
- Ribbon
- Button
- Iron and ironing board
- Other optional supplies:
- Spray starch
- Dressmaker’s pencil
- Thimble
- 2.5 inch quilting square
Instructions
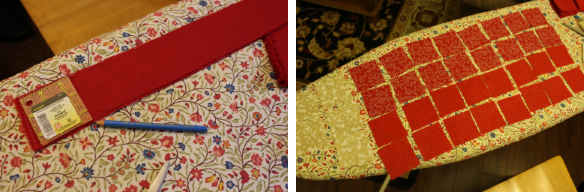
1. Cut a 2.5 inch strip from your main fabric, and then cut that into 2.5 inch squares. I used a small quilting square and a dressmaker’s pencil which helped immensely. Copy this process for both of your contrast colors. You should end up with sixteen squares of all three colors.
2. Take your squares and fold them in half, ironing them flat. Then fold them in half again, and iron flat again. Since I was making five of these ornaments (which I don’t recommend because they are very time consuming, and I literally had to make almost three hundred of these tiny squares!), I had to work quickly. I figured out that you can actually fold them twice and then iron them once. So if you’re an efficiency freak like me, hopefully you’ll appreciate that tip!
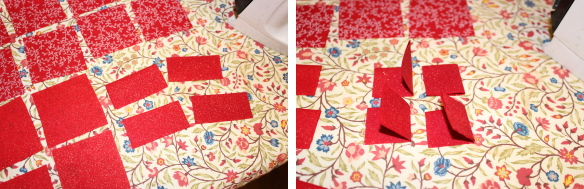
3. Once you have a bunch of tiny little squares, unfold them and turn the sides down to make a triangle, again pressing them in place with your iron. Try to get the point as close together as possible, because later you’ll be hiding the pins under the point. The bottom raw edge is not that important because it will be hidden by other fabric pieces. You should end up with sixteen little triangles of each color fabric.
4. Now you’ll prepare your center squares. These are what will be showcased on the front and back of the ornament. Take your fabric and cut out two 2.5 inch squares. Get out your stamp and make a nice strong print in the center.
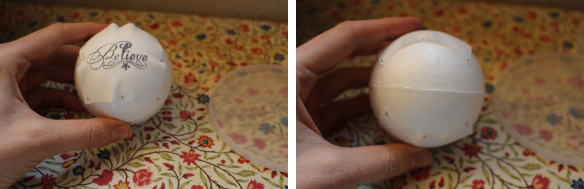
5. Now that all your materials are prepped, you’re ready to start assembling your ornament. Take your Styrofoam ball and pin the squares to the front and back of the ornament, right in the center. Turn the ball up, down, and side to check your work, trying to get everything to look somewhat even. Make sure both of your images are facing upward so that if the ornament spins on the tree, both images are upright.
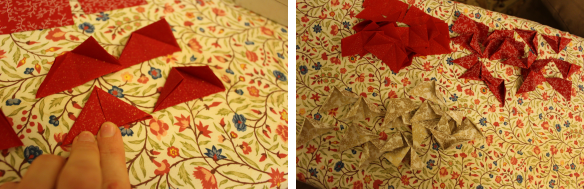
6. Take your first contrast color fabric and pin one of the triangles to the top of the front of your ornament. Line up the long side of the triangle a little bit higher than the top edge of the center fabric piece. Place the point pin inside the flaps, then close them to hide it.
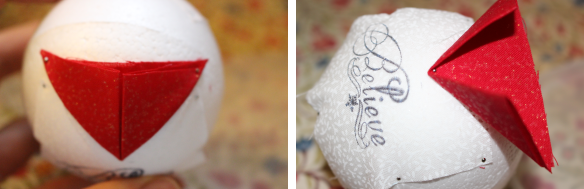
7. Repeat this on the bottom and two sides. You should have four triangles pinned to your ornament. Keep checking by looking at the front and try and have an even amount of white space between all four triangles.
8. Now you’ll layer a triangle onto one of the white spaces, centering the point between two of the already-pinned triangles. Repeat this until you have a star shape.
9. Your first layer is done. Good job! Do your fingers hurt yet? Those little pins are brutal. Half way through this project I ran to the store and bought a thimble. You can also use the cover from your pin box, or even another small piece of material to push them in, whatever works! Next you’ll add the second contrast color, building it in the same way you made the first. Start with the top, bottom, and two sides. Then you’ll layer on the other points the same way you did on the first layer.
10. Finally, add your main color on top.
11. Turn your ornament over and get ready for round two. You can be obsessive and try to line up the points on side one and two, or you can relax and not worry about it, because there are no mistakes in art! Don’t worry about it. If your back stamp is small though, try to at least create a similar amount of white space on both sides so that your star ends up being a similar size.
12. Go back to your main fabric color and cut a 13” long strip, about 2 inches wide. The width you need depends on how much edge you need to cover where the two sides of your ornament meet. Fold the edges of the long strip inward, and press.
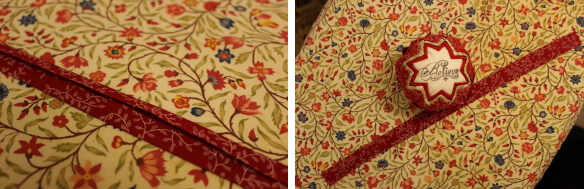
13. Fire up your glue gun. Start at the bottom of your ornament, and glue the strip of fabric in place all the way around the ornament so that you cover the unfinished center. You may need to grab a few more pins to get any rogue triangles to stay before covering them with the fabric strip. You may need to clip your fabric strip shorter, but make sure to leave a tiny bit extra so you can fold the end under and glue it in place at the end, making a clean, finished look.
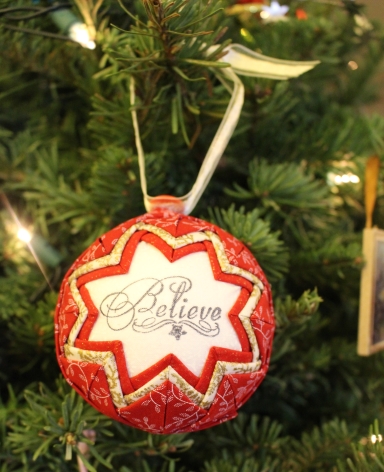
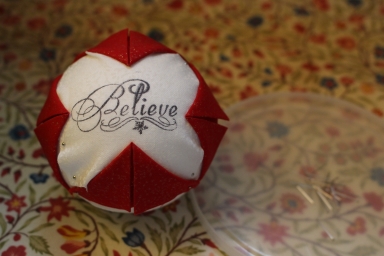
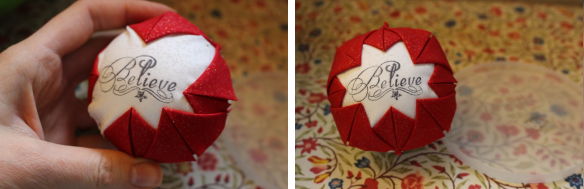
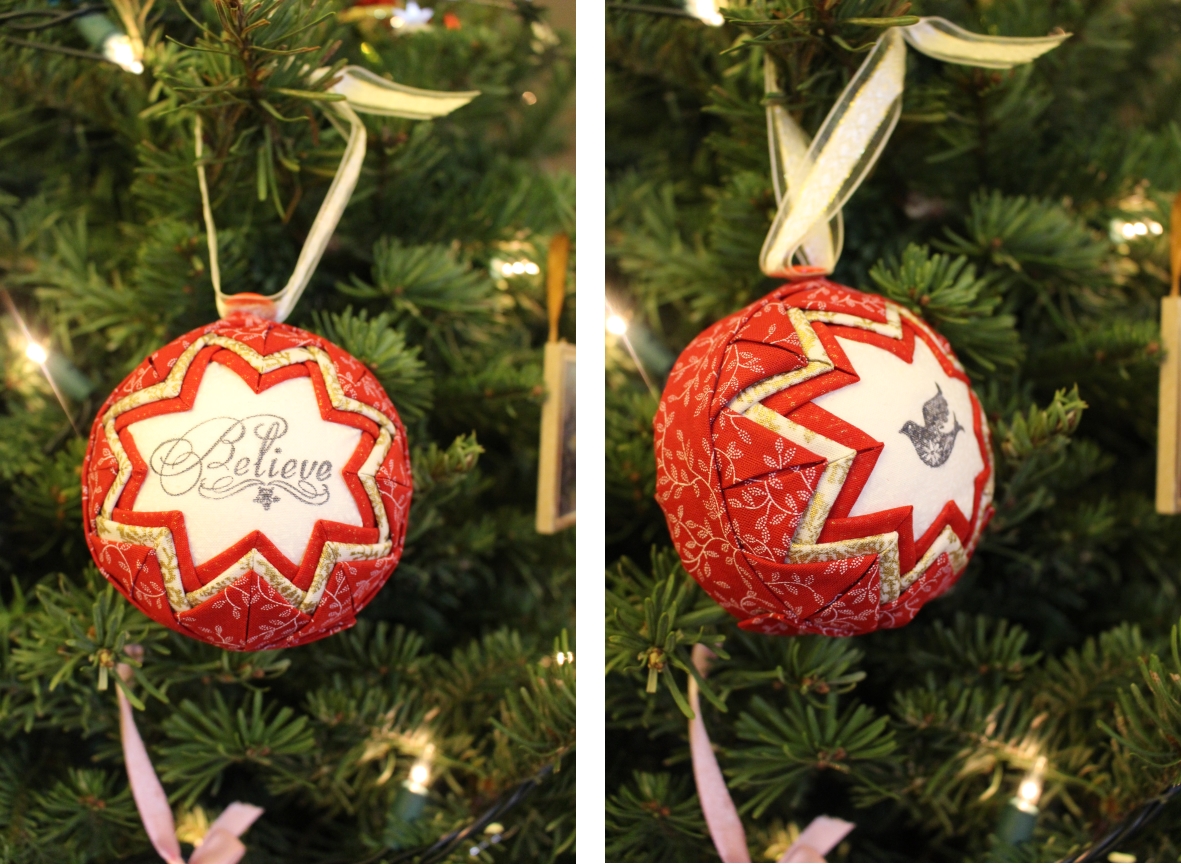
14. Cut a strip of ribbon and tie it. Use your glue gun to fasten it in place at the top of the ornament. I finished mine off with a little button on top as well. Here’s what my ornament looked like from the front and back:
TIPS AND TRICKS
Choosing Your Fabric
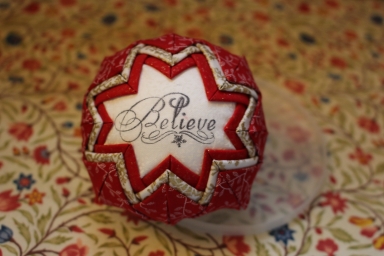
I chose a bold, bright color (red) to contrast the green pine needles. I used two shades of red, with a white and gold fabric as the middle layer. When choosing a fabric, look for very small patterns. The squares you’ll be working with are tiny and large patterns won’t read once you have everything folded and layered. Make sure the fabric is easy to fold and press (cotton works best IMO).
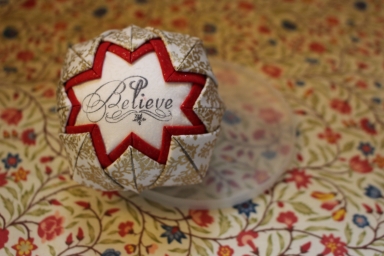
For the center piece, I used a white fabric with a very small floral print. Because of this I had to go with a black ink. I tried a gold colored ink but it didn’t read on the patterned fabric, so if I were to do it again I may consider plain white fabric.
Choosing Your Stamp
Make sure your stamp is small enough. If it takes up too much room, you won’t be able to hide the edges of the fabric square and still see the picture. I had no problem with the bird stamp, but the “Believe” stamp was almost a little too big. I struggled to get everything to line up just so. I bought these stamps at Michael’s, they came in a pack with about ten clear stamps all packaged together on a sheet. At first glance I thought they were stickers, but they were actually stamps and worked great!
Summary
I hope you enjoy making these quilted Christmas ornaments as much as I did. There are so many styles and design options, the possibilities are endless. Please share with your friends if you like this tutorial, and thanks for stopping by!